Windows installer
- OS:
🪟 Windows
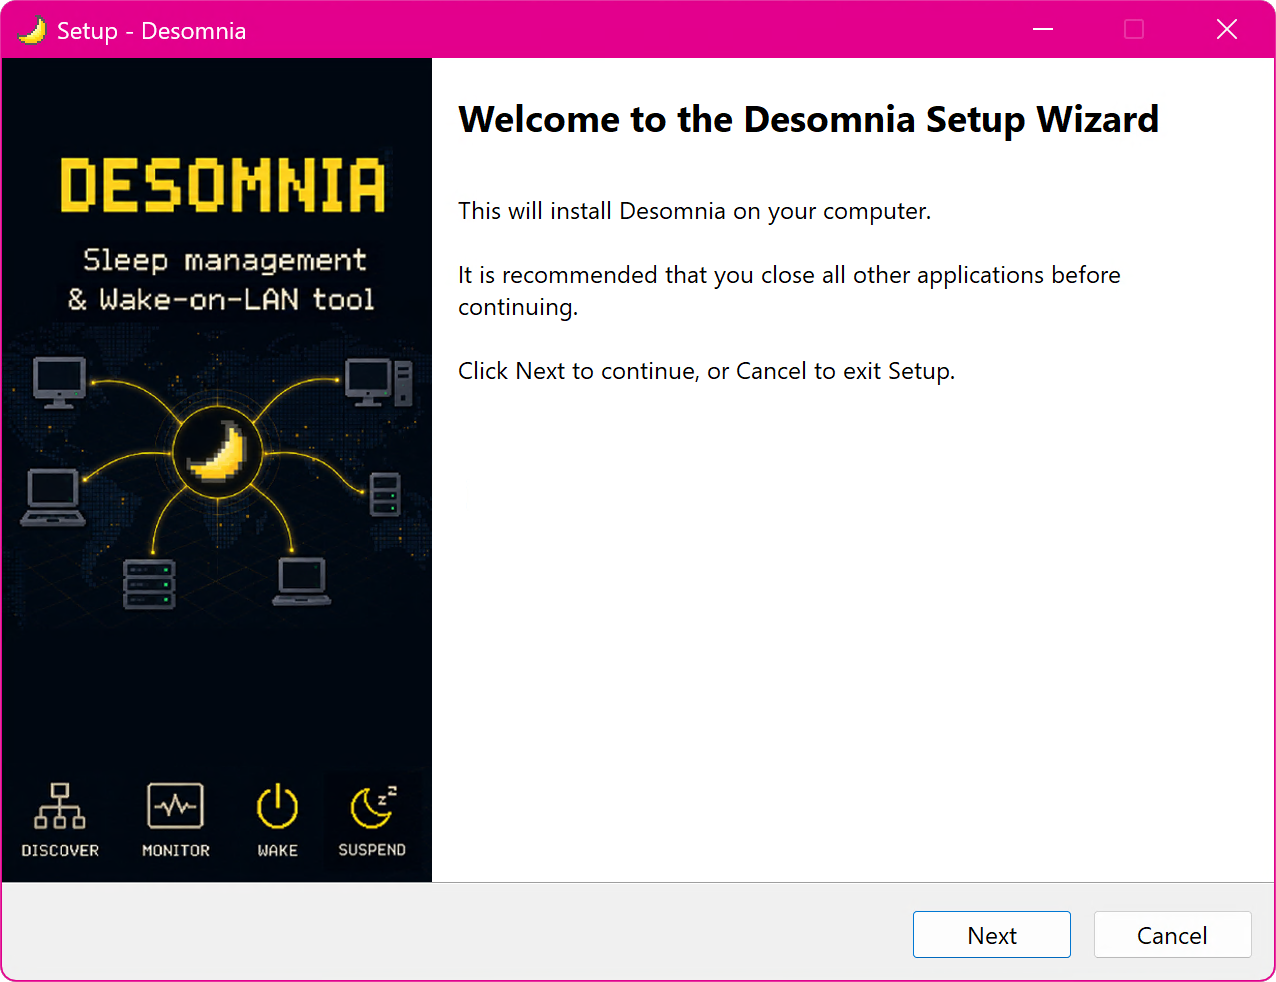
The easiest way to set up Desomnia on Windows is to download the latest installer from its Release page on GitHub. It takes care of registering Desomnia as a system service, installs all required dependencies, and walks you through a basic initial configuration.
Once installed, you can run the installer again — or select “Modify” in the system settings — to add or remove optional features at any time.
Optional Features
The installer includes all available plugins from the main repository. The following plugins have additional requirements:
Duo Stream Integration – requires Duo to be installed
Hyper-V Support – requires the Hyper-V Platform feature to be enabled
Configuration wizard
To ease the onboarding process, the installer walks you through a short configuration wizard that covers:
Whether Desomnia should replace the built-in power management
Timeouts and delays
A specific network interface for monitoring
Local and remote hosts and services
Virtual machines to monitor and automate
Uninstallation
To remove Desomnia, open “Installed apps” in the system settings, search for “Desomnia”, and select “Uninstall”. The uninstaller removes all components that the installer placed on your system.